 One of the best ways to make a visual impact to your bathroom is by changing the showerhead. Most home changes can be complicated, however, this one is incredibly easy. Though it’s not painting the walls or installing a new faucet, a new showerhead can totally change the look and feel of your bathroom. Here is the best method to change a showerhead, according to our plumbing experts.
Gather Needed Materials
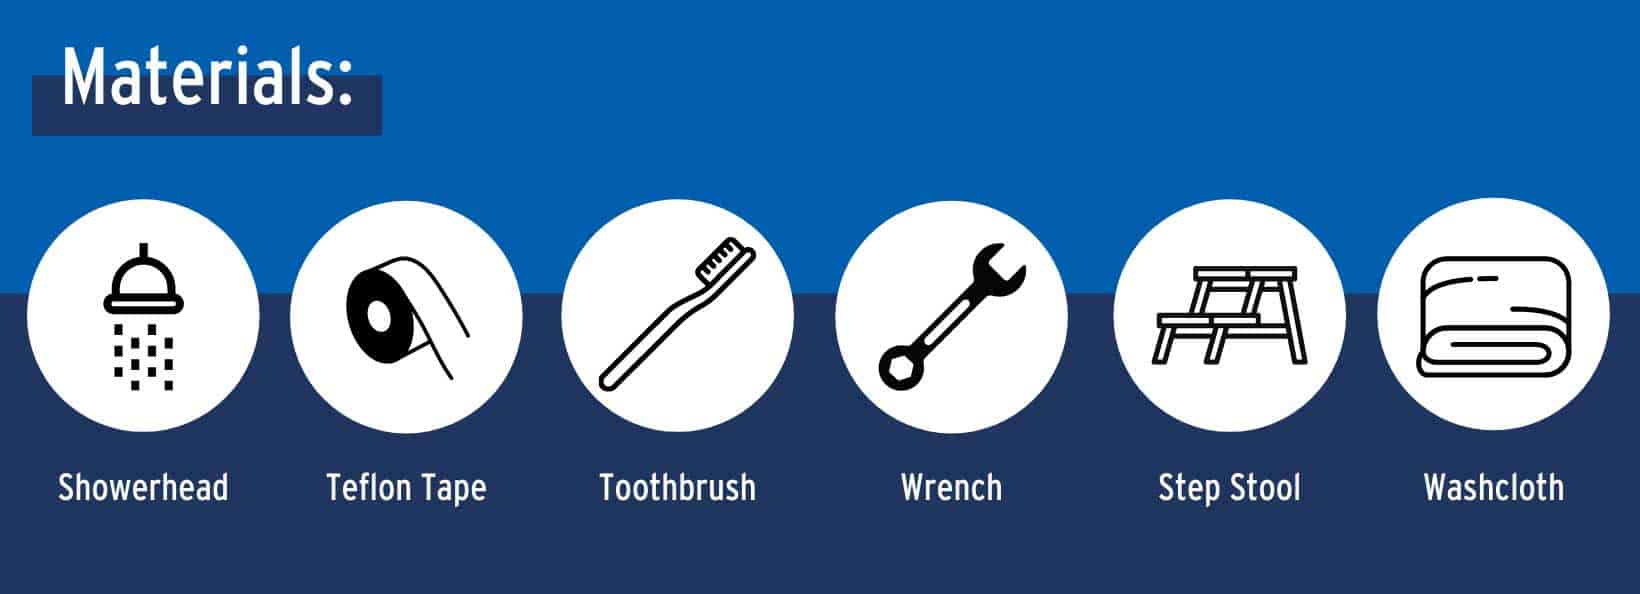
The first thing you should do before even touching your shower is to gather any necessary materials. There are only a few things you need for this project. Most of them can be found around the house. The only thing you’ll be buying is Teflon tape and a new showerhead.
First thing’s first, read the instructions that come along with the showerhead, you never know when one might have some extra steps.
Materials Needed:
- New Showerhead
- Plumbers or Teflon Tape
- Old Toothbrush
- Adjustable Wrench
- Stepstool
- Washcloth
Step 1. – Remove the Old Showerhead
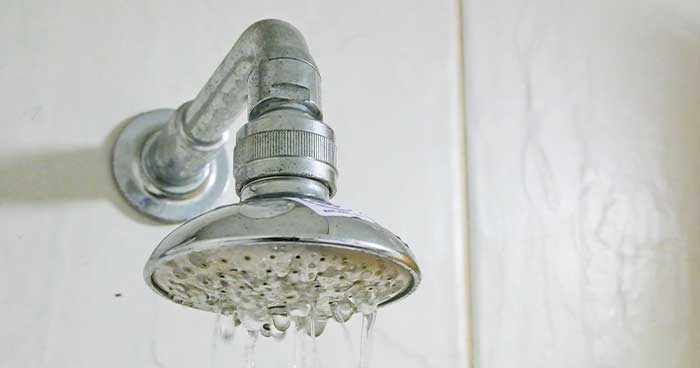
The first thing you’re going to do is remove the old showerhead. This is an easier process than you would think.
Showerheads can’t be on too tight, or else they’ll break. Because of this, it should be relatively easy to remove without the use of a wrench.
The only exception is if the showerhead hasn’t been changed for quite a while. Older showerheads can get stuck because of time and grime.
Use the washcloth to hold the shower arm in place and gently screw the showerhead counterclockwise. Be mindful of not twisting the shower arm, you want this to stay in place. Continue twisting until the showerhead is fully removed.
Step 2. – Clean the Pipe Arm
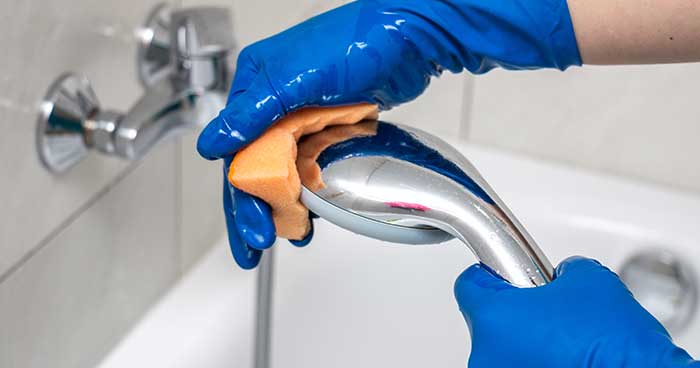
Where there is collected water, there will be residue. Once the old showerhead is off , it’s time to clean.
There are high chances that residue and even old Teflon tape will be left. Use an old toothbrush to gently scrub the inside of the pipe.
Do the same to the threads on the outside of the pipe. Then use the washcloth to clean everything up.
Step 3. – Apply the Teflon Tape
- Start by holding the end of the tape flat against the pipe’s threading. Make sure the tape stays flat, it should not bunch at all.
- Wrap the tape 6-8 times counterclockwise around the pipe threads.
- Hold and press the tape tight and flat.
- After wrapping the tape from end to end, break the tape by pulling it apart. Then smooth the loose end over the threads.
Now, you just need to install the showerhead.
Step 4. – Screw in the New Showerhead
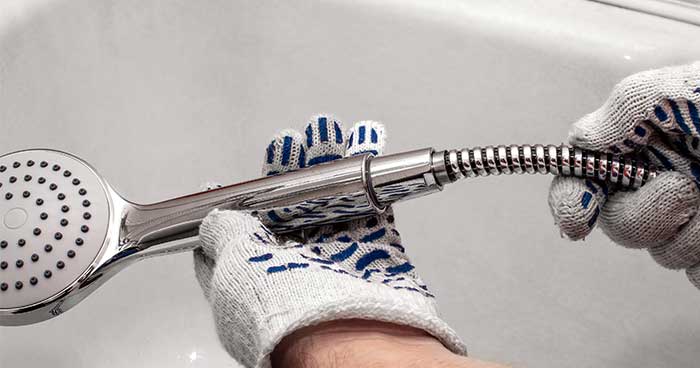
Remember those instructions you read before starting anything? This is when you’re going to want and even need them.
Gather all the items that came with the showerhead. The only tools you’ll need are your hands. When you’re ready, make sure the Teflon tape is flat and ready, then start to screw the showerhead in a clockwise direction.
This can all be done with your hands. Twist it clockwise into place until you can’t push it anymore. Then tighten it one quarter of a turn.
As we mentioned in step 1, you should never twist anything too hard. Most showerheads come with a plastic nut that can crack or break when too much pressure is applied to it.
Step 5. – Check Everything for Leaks
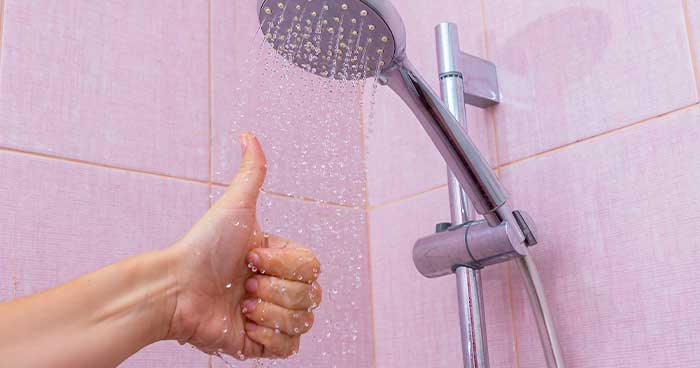
The last step of the process is to check everything for leaks. Start by turning on the water and seeing how the showerhead preforms.
Check the water flow. How is it looking? Does it have the same pressure as before? Also, see if there are any leaks.
It’s common to do some adjusting before everything is just right. Just be sure to not push too hard on anything and you’re good to go.
Call Bell Brothers for Expert Plumbing Service
While changing a showerhead is pretty easy, a lot of other plumbing tasks incredibly hard. When facing anything like a clog or leak, call the plumbing experts at Bell Brothers! They’re here to make your day better.
We proudly serve Sacramento, Stockton, Vacaville, the East Bay, and surrounding communities. To meet your plumbing expert, dial the number at the top of the screen or click here to request an appointment online.

