 There’s nothing quite like a sparkly bathroom and shower to make your home feel luxurious! However, the shower is prone to the grime and mold that grows due to moisture and warmth. Over time, your bathroom shower will need a refresh, which includes replacing the caulking.
The overall process is pretty easy and can be completed within a day, even for those who are new to DIY. If you prefer, you can call a professional to do the job, but if you’re up for the challenge, it’s a simple project. Here are 6 easy steps to caulk your shower.
 What Do I Need?
Caulking a shower is a common and simple home repair, so you can find all of the necessary tools and supplies at the local hardware store. Here’s what you need for this DIY work:
- Silicone or latex bathroom caulk
- Painter’s tape
- A utility knife or oscillating tool
- Caulking gun
- Mold cleaner and bathroom cleaning supplies
Step 1: Purchase the Caulk
Bathroom caulk comes in silicone, latex, or a combination of the two. Each has their advantages and disadvantages.
Silicone offers a superior seal, but latex is more flexible and easier to work with. Because of this, many plumbing professionals choose caulk with both silicone and latex, which offers excellent sealing with the flexibility to get in tough spots.
Step 2: Out with the Old in with the New
Now that you have your supplies, the next step in your repair is to remove the old caulk. Grab your utility knife and use it to cut through and loosen the old caulk.
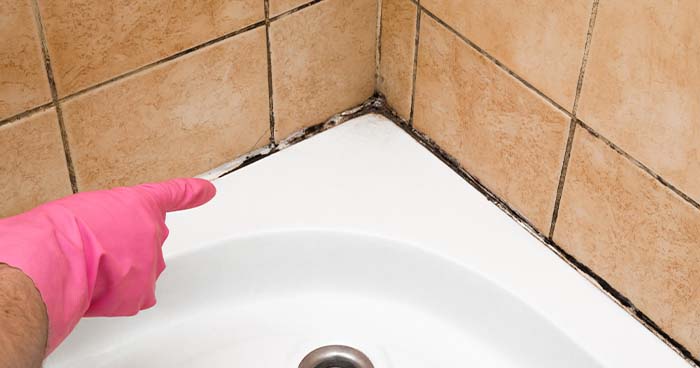
Step 3: Cleaning the Area
Before applying any new caulk, you must be sure that the area is clean and free from all mold, dirt, and grime. A clean surface is a must when applying new caulk to a shower and creating a strong seal.
Step 4: Painter’s Tape Application
Painter’s tape is your new best friend when it comes to evenly applying the new caulk to your shower. Apply it from the corners and work the tape around all of your shower walls.
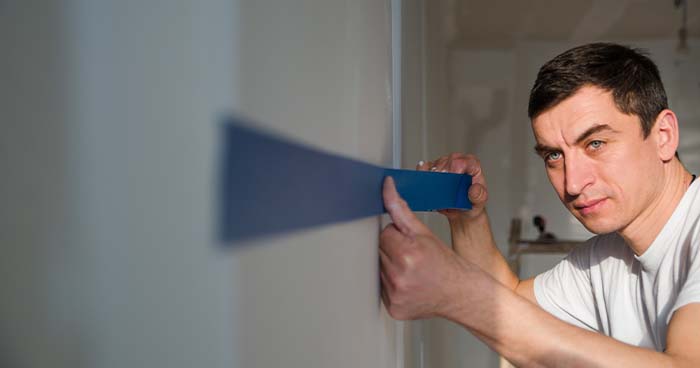
Make sure to get above the shower floor, and to the shower floor itself. This tape is easy to pull off, so no need to hesitate in pressing it firmly against the shower wall.
Step 5: Applying New Caulk
Now that you’ve got all the prep work done, it’s time to apply the new caulk to your shower. Application is easy but takes a bit of patience.
Hold the caulking gun at the gap at a 90 degree angle to ensure the best treatment. Push a small bead of caulk out of the gun and slowly move the gun along the edge.
Step 6: Post-Caulking Cleanup
Once you’ve made your way around the entire shower and applied the caulking, take a damp cloth and wipe along the caulk lines. This is intended to smooth the caulk and create a clean finish.
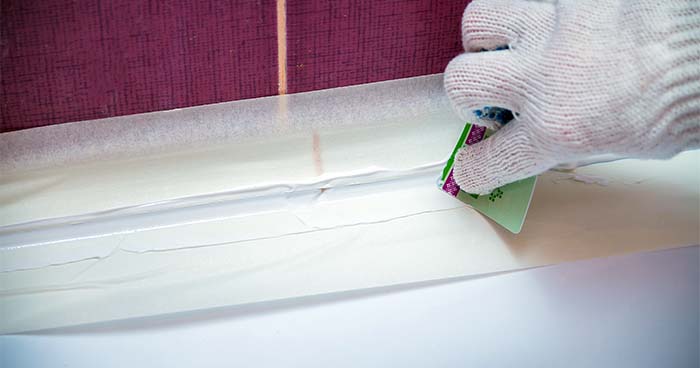
Now it’s just time to wait. Leave the shower alone for 24 hours and let everything dry in place. Then, remove the painter’s tape and be in awe of your own work.
Ready, Set, Shower!
Now that you’ve waited an entire day for the new caulking to dry, do a quick touch test to ensure it is thoroughly dry. If it’s tacky, give it more time to dry before using the shower. If it’s dry, congratulations on an amazing bathroom repair! Your stunning, refreshed shower is now ready for use.
For other, larger bathroom fixes, don’t hesitate to reach out to the experts at Bell Brothers. Call the number at the top of the screen or click here to schedule an appointment online.