
Sweating pipes? High water heating bills? Frozen pipes in winter?
By simply insulating your home’s water pipes, you can prevent frozen pipes, diminish the condensation on cold water pipes, conserve energy, and reduce heat loss.
Save money, energy, and water
According to the U.S. Energy Department, water heating is the third largest consumer of energy in the home (behind heating and cooling), accounting for nearly 17% of a home’s total energy use.
Insulating hot water pipes to save energy is fairly obvious — by wrapping your hot pipes in insulation material, you keep the cold from entering and the heat from escaping. This raises the water temperature inside the pipes by about 2°F-4°F, allowing you to turn down the water heater temperature setting for additional savings.
It also helps hot water reach your faucets quicker. You won’t have to wait as long for the hot water tap to reach the desired temperature, which will reduce your household water consumption.
Why let your heat seep out into crawl spaces and other unoccupied areas of the home? It’s a waste of energy.
You can save around 3%-4% on your annual water heating bill by insulating your hot water pipes (Energy Department). This saves you around $8-$12 every year for the full lifespan of your pipes, which is around 50 years. That’s a savings of around $500.
Additional energy savings
Since around 17% of the average U.S. home’s energy consumption goes toward water heating, it makes sense that people are looking for ways to reduce their annual water heating bill, which can be over $1,000 per year.

- If you have a traditional tank water heater, consider wrapping it in an insulation blanket for 7-16% savings on your annual water heating bill.
- Lower your water heater temperature for a savings of $12-$30 annually for each 10ºF reduction (Energy Department).
- When it comes time to replace your current water heater (about every 8-12 years), think about upgrading to a tankless water heater.
Prevent frozen pipes and limit cold water pipe condensation

Insulating cold pipes, while less obvious, is still a good idea, especially if you live in a cold environment or your pipes are prone to “sweating.”
Just like a cold glass of water on a hot day, moisture from the air will condense on the surface of your cold water pipes, which can then drip down and cause water damage. If you’re storing valuable items near your pipes, you’ll want to protect them from possible drips by adding insulation to the pipes above.
When you insulate your cold water pipes, water won’t condense on the surface of the pipes and contribute to your home’s moisture issues.
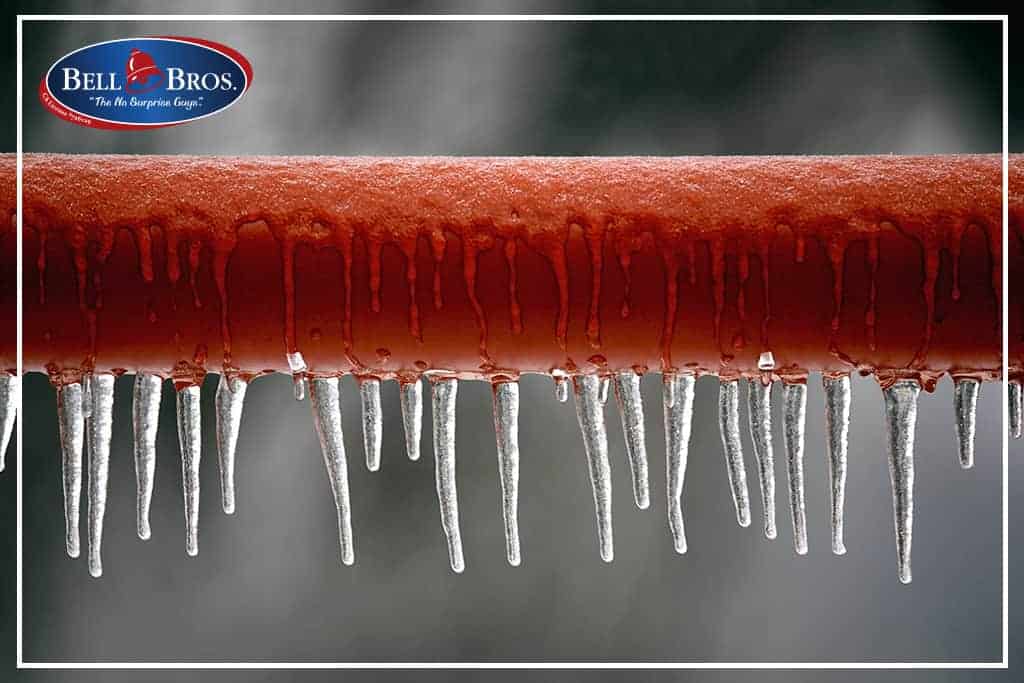
And if the temperatures dip below freezing, pipe insulation can prevent frozen pipes by slowing the time it takes for the freezing temperatures to affect the pipe.
Keep in mind that pipes exposed to freezing temperatures for prolonged periods of time will eventually freeze. In extremely cold environments, you may want to consider wrapping pipes in unheated spaces with thermostatically controlled heat tape.
There are several ways to prevent frozen pipes, but one of the best ways is to insulate cold water pipes. This maintains the pipe’s temperature, protecting it from the cold surrounding air.
And while the energy savings are small, insulating cold water pipes also saves a bit of energy by preventing the low-level draw of heat energy from your building.
How to insulate cold and hot water pipes
In order to conserve valuable energy while saving money and preventing condensation and freezing pipes, we highly recommend insulating both hot and cold water pipes.
Fortunately, insulating your pipes is an easy DIY project that you can accomplish on your own.
If, however, you find lots of water pipes that are hard to reach or inaccessible, you’ll want to leave these sections to a qualified plumber.
Contact Bell Brothers for help insulating your hard-to-reach water pipes and hot water heater. Our licensed and trained insulation experts can make sure the attic, basement, walls, and ceiling are also properly insulated.
Pipe insulation options
There are multiple types of pipe insulation available to you. No matter which one(s) you choose to use, the pipe surface must be completely dry and clean before installation. Always follow the manufacturer’s instructions.
1. Doughlike Insulation Wrap
Simply wrap the insulation around the pipe in a spiral fashion and then shape it to fit around the pipe. Since the material is soft and acts almost like modeling clay, you can easily shape it around your pipes.
After you have wrapped the pipe portion, move on to the joints. You can use the same doughlike material to wrap around the pipe joints.
2. Self-Adhesive Foam Tape

Another similar, but different type of insulation is the adhesive-backed foam tape that is spiral-wrapped around the pipe.
You can use insulation foam tape for both hot and cold water pipes. Foam tape is perfect for insulating pipe sections that are impractical for pre-slit insulation sleeves.
All you have to do is remove the paper backing and spiral-wrap it around the pipe. Try not to stretch the material as you go.
3. Fiberglass Insulation

Fiberglass insulation, combined with a special plastic or foil wrapping to keep it in place, can be used to insulate both hot and cold water pipes.
Wrap the fiberglass insulation around the pipe and tape it down with acrylic/duct tape.
Next, wrap the special plastic vapor barrier around the outside of the fiberglass insulation. Be extra careful to make sure you have created a good seal, especially around the pipe joints. You will most likely have to cut the insulation to size in order to have it fit nicely around the pipe joints.
4. Polyethylene Foam Slip Insulation (aka Pipe Insulation Jackets/Sleeves)
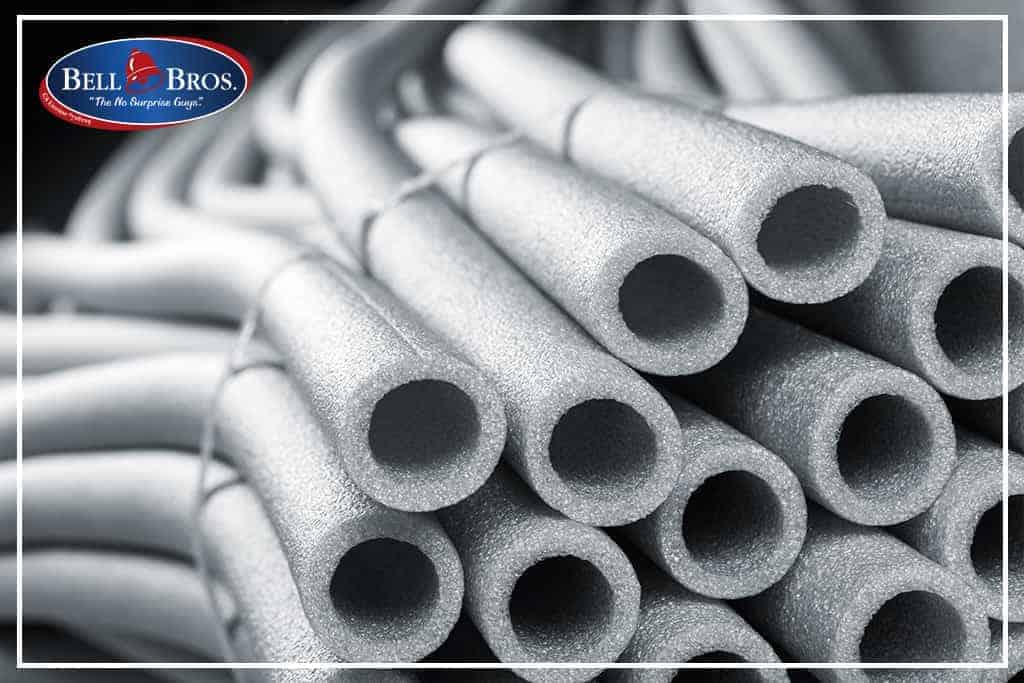
The last, and probably the simplest and most widespread pipe insulation type is the polyethylene slip-on type.
We recommend using pre-slit polyethylene pipe insulation for most of the water pipes in your home. They are self-sealing, which means you won’t need tape or ties to keep the insulation in place.
Pre-slit foam insulation is designed to fit around most pipes. Just make sure you purchase the right size for your pipes.
- Measure the pipes starting from the water heater.
- Cut the insulation sleeve to the proper length.
- Place the sleeve around the pipe so that the seam is facing down toward the floor.
- Secure the pipe sleeve with electrician’s tape, duct tape, or cable ties. Do this for every 1-2 feet to keep the insulation in place.
Purchasing pipe insulation materials
After you’ve decided which type of pipe insulation you want to use, you can purchase them from your local hardware or home improvement store. Make sure you have your pipe sizes written down so you can purchase the right size sleeves.
Keep in mind that you will want to use acrylic/duct tape or cable ties for most pipe sleeves and aluminum foil tape or wire for most fiberglass. Always consult the packaging for proper materials and instructions.
Other necessary materials include scissors or a utility knife to cut the insulation material to size, a tape measure, and gloves.
Warning: Keep any insulation materials at least 6 inches from the flue (if you have one). If you are using fiberglass insulation, make sure you wear gloves and long sleeves and pants.
Before You Begin: Make sure that your pipes are clean and dry before applying insulation, especially your cold water pipes.
Insulating the cold and hot water pipes in your home will save you around 5% on annual energy costs, prevent frozen pipes, and limit condensation. And the materials only cost $10-$15.
Don’t forget to lower your water heater temperature setting
After you have insulated your hot water pipes, you can now lower the water heater’s temperature setting without detecting a change. While many water heaters are set to 140ºF, you can save a lot of money and reduce scalding by turning it down to 120ºF. With pipe insulation, this setting is more than hot enough for all your needs.
Consult your owner’s manual for instructions on how to set the temperature. It’s normally a small dial near the bottom of the tank. It may also be behind a plate or panel.
If your dial isn’t in degrees Fahrenheit, you can measure the water temperature coming from your pipes with a thermometer. This is more accurate anyway.
Make the adjustments necessary to get your hot water to the proper 120-degree temperature. You may have to make several trips to measure the water temperature before you get to the right setting.
Lowering your water heater temperature can save you an additional 5-10% on your annual water heater costs.
Remember to turn the water heater temperature down whenever you leave your home for an extended period of time, such as when going on vacation. Many heaters have a “vacation setting” that you can turn on.
To wrap up
We highly recommend installing pipe insulation to save energy, prevent frozen pipes, and reduce condensation.
While you can probably do most of the hot and cold water pipe insulation on your own, if you encounter hard-to-reach pipes, it’s best to leave insulating these pipes to the professionals.
The expert technicians at Bell Brothers can professionally install insulation around your home, including your pipes and water heater. We can also ensure you have proper insulation in your floors, walls, and ceilings.
Contact the pipe and plumbing experts at Bell Brothers for a free in-home estimate and evaluation of your plumbing system.